It’s snow season and we are sure you are ready to get out and lay some tracks! Before getting started with your new MAD-RAMPS snowmobile ramp for truck bed loading, it is important to understand the setup process and loading steps for using the MAD-RAMPS Snowmobile Kit.
Start With The MAD-RAMPS Pivoting Ramp System
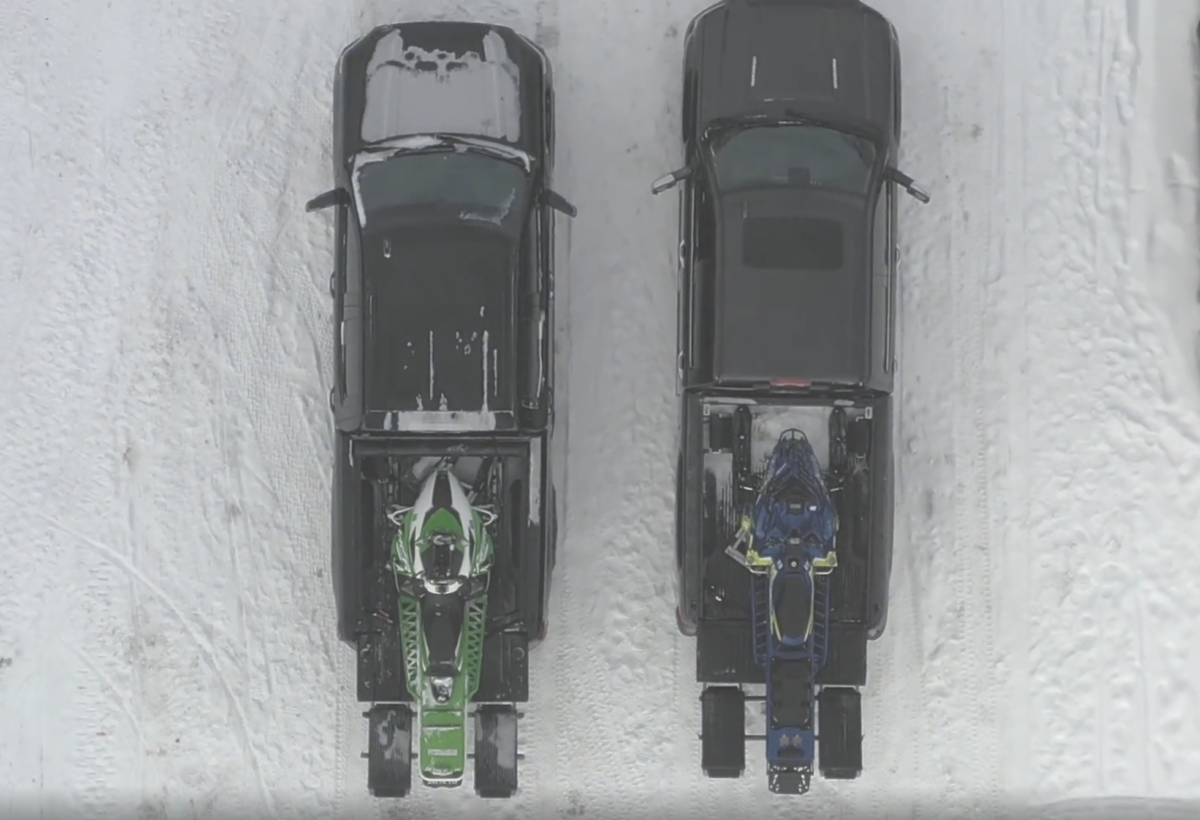
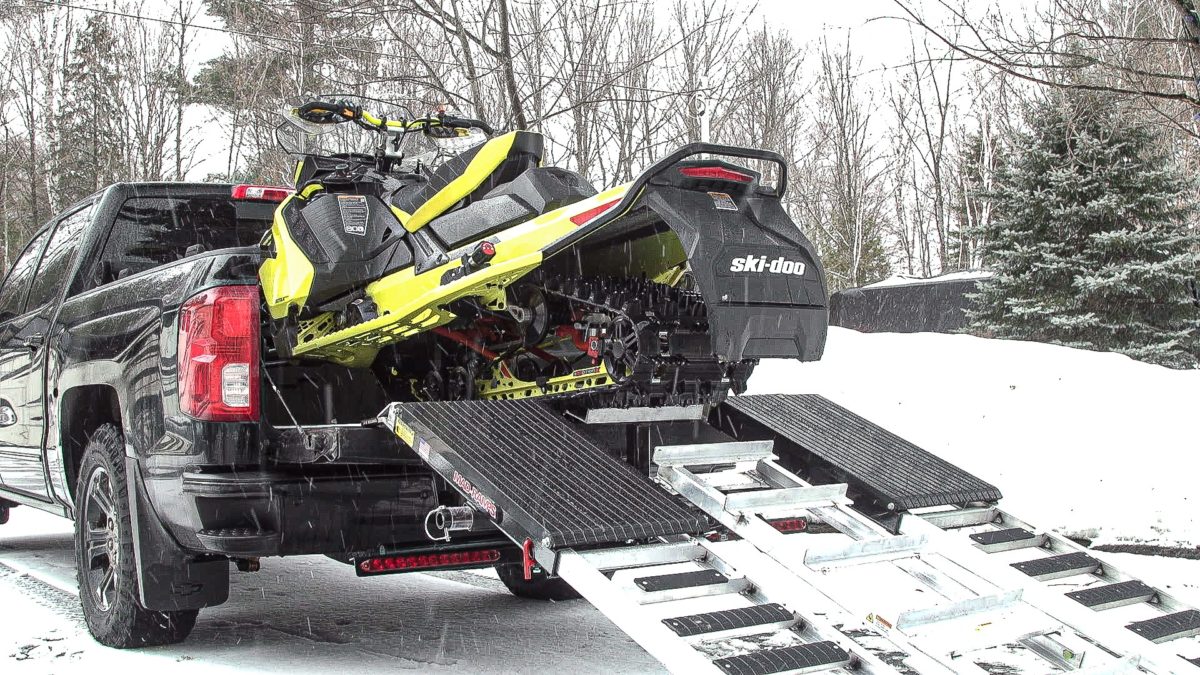
When loading a snowmobile with MAD-RAMPS, you will actually need two separate items from our store. The first is the MR1400 ramp. This is our main product which includes our innovative pivoting ramp system design. Our snowmobile ramp for truck bed loading is a superior alternative to traditional aluminum ramps and using a trailer, providing a number of advantages like not needing to license and insure your ramp like a trailer. You won’t need to park and store the ramp like a trailer, and you won’t have as many terrain limitations when getting to riding locations. There is also much less required maintenance.
Add the Snowmobile Kit
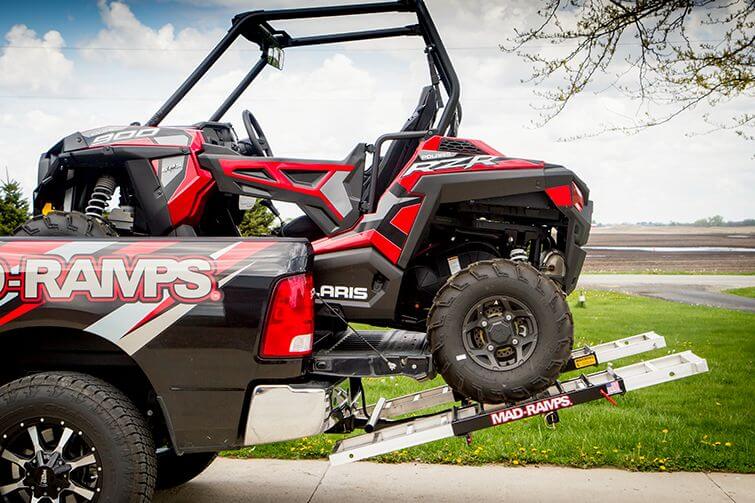
Once you have the ramp system, the next component is our MR0103 Snowmobile kit to modify your MR1400 ramp for snowmobile loading. A big benefit of the kit is that it is removable as well so you can use your ramp for snowmobiling and also load ATVs or UTVs once the snowmobile attachment is removed. The kit comes with all of the following parts and here is how to install them:
Download Snowmobile Ramp Instructions Here
Step 1: Rung covers
To start, you will need to place the left ramp of your MR1400 on the ground. Take the included ramp covers and rung covers and secure them with a T-25 Torx drill bit with 2 self drilling screws. Next, secure the rung covers on the first 7 rungs using the additional self drilling screws. The ramp has 11 rungs in total. The ramp cover covers the first two and after the rung covers are added there should be two remaining rungs at the top of the ramp without covers.
Once completed, repeat these steps on the right ramp.
Step 2: Coupler and Spacers
Next, slide the coupler on the main arm and down to the light bar. Reinstall the pivot bar behind the coupler. The bolts should be torqued to 70lbs. Place the pedestal in the coupler but do not secure the coupler yet. Install the 10” and 2” polycarbonate spacers onto the pivot bar. Spacers must be used in the wide setting for loading snowmobiles. Lastly, install two retainer clips – one behind the pivot bar and one in front of the rear marker light.
Step 3: Install Pivot Cage
Install the left pivot cage and add the pivot cover to the cage. This will require 5/16 bolts – 2 for each side. Add washers to the bolts but do not tighten them yet. Tighten all 4 nuts together with at least 2-3 threads sticking out past the nylon on the nut. Repeat these steps for the right pivot cage as well.
Step 4: Secure the Coupler
Pre-thread (4) ½” jam bolts into the coupler. Position the coupler ¼” from the light bar and secure the coupler with a torque wrench set to 70 lbs. Start with the side jam bolt. Next, torque the bottom jam bolt. Lastly, torque the 2 upper jam bolts.
Step 5: Setup Ramp Track
Place the aluminum channel track on to the pedestal. It can be secured in two different locations depending on your truck model to offer more tailgate clearance. Start with the lower position and reposition to the upper position if needed. More weight is placed on the pedestal when it is in the higher position. Secure using (2) ⅜” grade 8 bolts with washers and nylon lock nuts. Torque to 23 lbs.
Step 6: Adding 3rd Track
The MAD-RAMP is designed for vehicles with 2 axles. This means by default, it only has two tracks and for your snowmobnile we will need a center track. Place the folding ramp onto the pivot bar. Rotate the lever on the quick clamps to increase or reduce tension. The clamps should be snug on the pivot bar but not too tight. Once it’s been adjusted, fold the levers down so they don’t get accidentally loosened. Install the pivot stop into the pivot cage on both ramps.
Now your ramp is fully installed and ready to use! Remember to remove the pivot stops and center ramp before transport.
Install the Mad Ramps Bed Guards
In addition to the ramp itself, we also provide Bed Guards to prevent damage to your truck when transporting your skis using a snowmobile ramp for truck beds. Many people consider bed guards an essential accessory as the carbides under most snowmobiles are actually sharp enough to eventually cut through the metal of your tailgate or truck bed.
Step 1: Poly Shims
Not all trucks have the same width between the tailgate and truckbed when the tailgate is down. We provide (4) ¼” poly shims to extend the stop if needed. You can add 2 to each side and they are necessary if the gap between your tailgate and box is over ¾”. Be sure to save your shims in case you get a new truck in the future with a wider gap.
Step 2: Position Bed Guards
Simply position the bed guards in line with the stance of your machine’s skis. Bed guards must be removed and stored before traveling when they are not in use.
We hope this walk-through helps with your setup and installation process with your MR0103 Snowmobile Kit and MR1400 Ramp! Download Snowmobile Ramp Instructions Here for more details on how to use this snowmobile ramp for truck beds.


