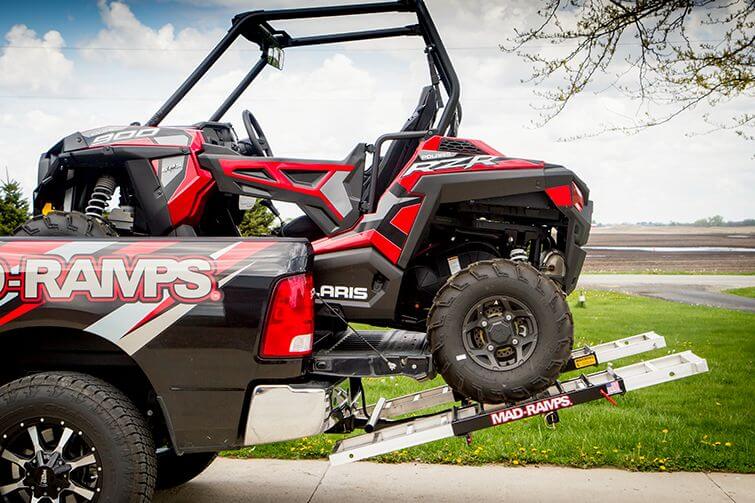
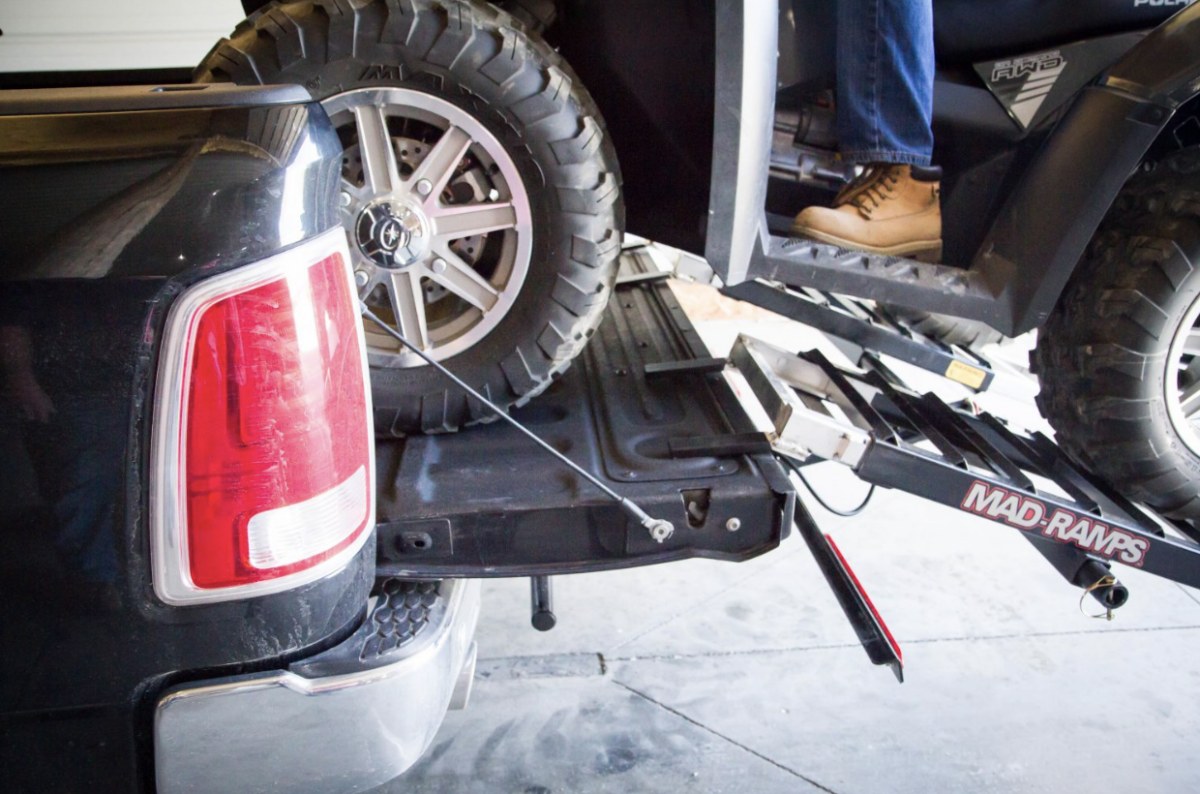
Hitting the trails as quickly as you can is possible when you have the right equipment to load and unload your snowmobile. With the right snowmobile truck ramp, you can safely and swiftly get your snowmobile loaded up and ready to go. MAD-RAMPS is the best option for getting your snowmobile out to the trails ASAP.
Preparing to Install MAD-RAMPS
The MAD-RAMPS Pivoting Ramp System is intended to load, unload, and transport ATVs, UTVs, Golf Carts and Snowmobiles only. Depending on ATV/UTV/Golf Cart/Snowmobile weight, a minimum of a Class III or a Class IV receiver hitch is required for the MAD-RAMPS Pivoting Ramp System. It is imperative that you check your owner’s manual to determine the tongue-weight rating for your truck’s specific receiver hitch.
Once you know your truck’s specific tongue-weight rating, you will need to perform one quick calculation: Add together the total weight of the MAD-RAMPS Pivoting Ramp System (151 pounds) and two-thirds of the weight of your ATV, UTV, Golf Cart or Snowmobile (2/3 = machine weight x 0.67).
After you have completed this calculation, you must make sure that the combined weight of the MAD-RAMPS Pivoting Ramp System and two-thirds of the weight of your ATV/UTV/Golf Cart/ Snowmobile is less than the maximum tongue-weight rating for your truck’s receiver hitch. If this combined weight is more than the maximum tongue-weight rating for your truck’s receiver hitch, the MAD-RAMPS Pivoting Ramp System should NOT be used on your truck.
Furthermore, it is imperative that you closely inspect your truck’s receiver hitch to determine whether it is in good working condition. You need to ensure that the structural integrity of your truck’s receiver hitch has not been degraded from years of use or misuse, or from the use of highway salts and other degrading compounds that your truck may have encountered.
MAD-RAMPS are DOT compliant for highway travel in the United States. In order to maintain compliance, three straps must be used to secure your machine prior to transport. For maximum safety, it is recommended that ratchet straps be used to secure your machine for transport-two at the front of your ATV/UTV/Golf Cart/Snowmobile and one in the rear, as a minimum.
Tools Required
- 1/2” Wrench
- 1/2” Socket
- 3/4” Wrench
- T25 Torx Bit Drill
How to Install the MAD-RAMPS Snowmobile Kit
Please note, that before installing the separate snowmobile kit, the original MAD-RAMPS pivoting ramp should be installed. Click the following links for instructions on how to install the MR1400 pivoting ramp or the MR2000 model.
Step 1:
1a. Place the left ramp of your original MAD-RAMPS on the ground with the top facing downward.
1b. Place the lower poly ramp cover on the end of ramp with reflective tape. Using a T-25 Torx bit secure the two (2) self drilling screws.
1c. Center and secure rung covers to each rung with two (2) self drilling screws. There are seven (7) rung covers per ramp.
1d. Repeat steps 1a-1c on right ramp.
Step 2:
2a. Slide coupler onto main arm, then down to light bar.
2b. Reinstall pivot bar. Note: Bolts should be torqued to 70 ft/lbs.
2c. Place pedestal in coupler. Do not secure coupler at this time.
2d. Install polycarbonate spacers. Install both the 10” and 2” spacers toward inside of pivot bar. Note: Spacers must be used in wide setting for snowmobiles.
2e. Install two (2) retainer clips, one behind the pivot bar and one in front of the rear marker light.
2f. Once Step 2 is complete the set-up should look as shown.
Step 3:
3a. Install left pivot cage and place poly pivot cover on pivot cage.
3b. Install four (4) 5/16” x 16-3/4” bolts as shown, two (2) per side
3c. Install four (4) 5/16” washers and nylon lock nuts. Do not fully tighten at this time.
3d. Tighten all four (4) nuts until snug. Leave a minimum of 2-3 full threads sticking out past the nylon lock nut.
3e. Repeat steps 3a-3d on right pivot cage.
Step 4:
4a. Pre-thread four (4) 1/2” jam bolts into coupler.
4b. With coupler approx 1/4” from light bar secure coupler by torquing side jam bolt to 70 ft/lbs.
4c. Next torque bottom jam bolt to 70 ft/lbs.
4d. Then torque upper two (2) jam bolts to 70 ft/lbs.
Step 5:
5a. Place aluminum channel track support on pedestal, it can be secured in two (2) different locations to offer custom fit for machine/truck combinations. The higher the position of the aluminum channel, the more weight placed on the pedestal. This also allows for greater tailgate clearance.
Note: Start aluminum channel at lowest and move to highest position setting as needed.
5b. Secure using two (2) 3/8” x 1-1/2” Grade 8 bolts with washers and nylon lock nuts. Torque to 23 ft/lbs.
Step 6:
6a. Place folding ramp onto pivot bar.
6b. Turn/rotate the lever on the quick clamps in or out to adjust tension. Clamps should be snug.
6c. Once adjusted fold levers down.
6d. Install pivot stop into pivot cage. Do this for both ramps.
6e. Snowmobile conversion kit fully installed.
Note: Pivot stops and folding center ramp must be removed and secured before transport.
Installing & Using MAD-RAMPS Bed Guards
Step 1:
Included are four (4) 1/4” thick poly shims and torx screws. Up to two (2) can be added to the front or back of each poly stop. Shims are necessary if the gap between the tailgate and box is over 3/4”. This is due to the variances in different makes and models of trucks. Be sure to keep extra or unused items for possible future use.
Step 2:
Simply line up the Bed Guards with the stance of your machine’s skis.
Note: Bed Guards must be removed and stored before traveling when not in use.
*For the MAD-RAMPS Snowmobile Converstion Kit installation instructions with photo examples, warranty information, and more, click here.
Get the #1 Snowmobile Truck Ramp Today
MAD-RAMPS is the best option for a snowmobile truck ramp. Load your Snowmobile onto your truck with ease. The patented MAD-RAMPS Snowmobile Kit MR0103 is an add-on to the MAD-RAMPS Pivoting Ramp System that adds a third central ramp and an adjustable pedestal for the snowmobile track, as well as custom plastic inserts for the outer ski ramps. The MAD-RAMPS Snowmobile Kit is the new standard for snowmobile truck ramp and sled transportation. Get yours online today!


