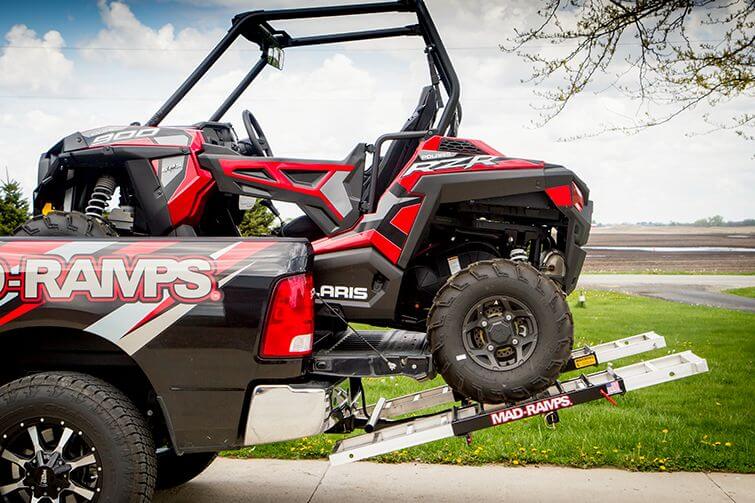
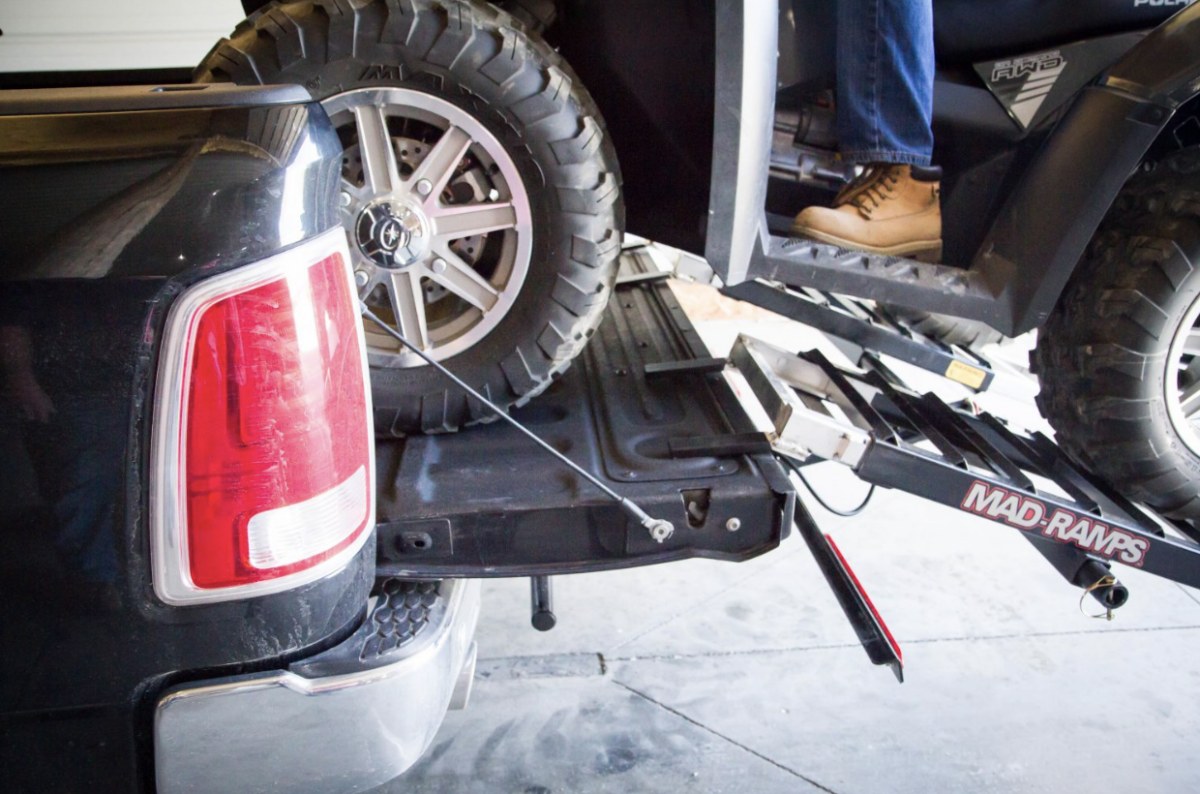
MAD-RAMPS is about efficiency and safety, which is why we provide you with the revolutionary, space saving MAD-MOUNT system. In just 4 easy steps, you can install your MAD-MOUNT storage system so your MAD-RAMPS are always ready to go when you are.
Your MAD-MOUNT system comes in two pieces: the Upper Mounting Plate and the Lower Mounting Plate. These two plates are not interchangeable, so make sure you follow these instructions!
Before you begin installation, make sure your work area is cleared of all possibly hazardous objects. You’ll need 30 square feet of wall space to properly install your MAD-MOUNTS – 6 feet wide by 5 feet high. We suggest choosing a low-traffic area of your garage, shop, or shed to avoid any curious, climbing kids.
You’ll need a few tools to get started:
– measuring tape
– level
– pencil
– drill
– 3/16″ drill bit
In your MAD-MOUNT box, you should find the Upper Mounting Plate with 4 individual hooks and the Lower Mounting Plate with 2 individual hooks. Two fastener hooks for each plate (a total of 4) are also included. Your plates also have predrilled holes to accommodate wall framing on 16 inch and 24 inch centers. Do not use drywall anchors or other fasteners as they are a potential safety hazard – only secure the MAD-MOUNT to your wood-framed wall with the studs and fasteners MAD-RAMPS provides for you.
Install the Upper Mounting Plate (2 Steps)
– Measure five feet up from the ground and make a mark on the wall. Using your level, draw a straight line across this wall (about 36″). Now, locate the studs in the wall and mark each one that intersects with the reference line you just drew. These are the marks that must line up with the predrilled holes in the Upper Mounting Plate.
*Note: Walls framed 16 inches on center will use the outer predrilled holes and will span 3 studs (32 inches). Walls framed 24 inches on center will use the inner predrilled holes and will span across two studs (24 inches).
– Now line the bottom edge of the Upper Mounting Plate on the horizontal line you drew in step 1. Make sure that your predrilled holes line up with the wall studs, then pre-drill holes in your wall studs using the 3/16″ drill bit. Next, take two of the provided fasteners to secure the Upper Mounting Plate to the wall studs by using the provided T40 Torx Bit.
*Before moving on to the next step, make sure that both fasteners are completely tightened to the wall studs.
Install the Lower Mounting Plate (2 Steps)
– Measure 10 1/2 inches down from the top edge of your Upper Mounting Plate and make a mark. Use your level to draw a straight line across the wall (again, about 36″). You’ll use this line to install the Lower Mounting Plate.
– Line up the top edge of the Lower Mounting Plate with the line you just drew. Make sure the predrilled holes line up with the wall studs. Now, pre-drill the holes into your wall studs using your 3/16″ drill bit. Then, take the two fasteners and secure the Lower Mounting Plate to the wall studs using your T40 Torx Bit. Make sure your fasteners are completely tightened to the studs.
You’re ready to store your MAD-RAMPS Pivoting Ramp System! Have questions about installation or any of your other MAD-RAMPS accessories? Contact our team today.


